
Grocery List On A Roll
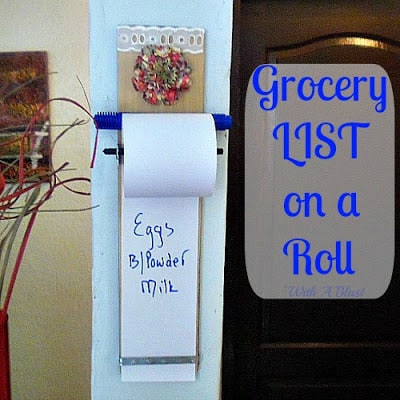
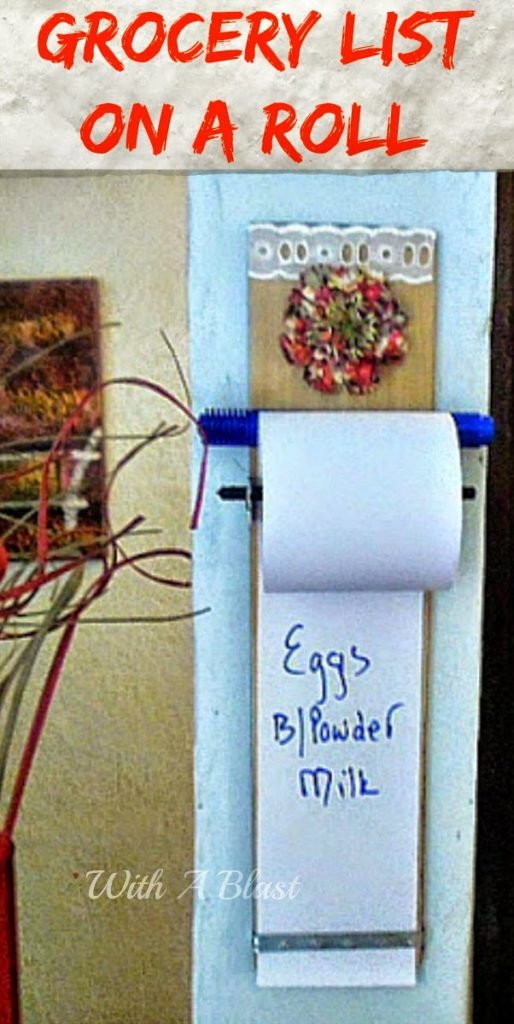
Grocery List On A Roll – An easy DIY ! Literally a Grocery List on a Roll made with everyday stuff and the roll lasts forever !

It was time for a proper Grocery List ! And I already LOVE my grocery list on a roll.

Because …. I am tired of scenes like the above pic ! The rule in our house is, when you finish an ingredient or any other thing which we run out of, is to leave the empty container on a specific counter.
I am “supposed” to check these every day, write it on my list for the day, or the week, and throw away the empty containers. Yeah, that’s not happening most of the time.
I tend to SEE the containers, but choose to ignore them for as long as possible. And after a day or two, we have clutter – plain and simple!
So, finally I made something which should last a while (it is quite a long roll of cashier’s slip!).

What you need to make a grocery list on a roll :
- A leftover laminated flooring plank of about 350mm high
- 2 Homemade Brackets with a cut-out in each for the plastic black roller shaft (already attached)
- A Flower embellishment and a small piece of ribbon (width of the plank)
- Roll of cashier’s paper
- Marker
- A Cutting strip – already attached – see below what we have used

A closer look – we used a double strip of …..

That’s right ! The cutting strip thingy which is made of metal and found on baking paper boxes .. works perfectly. Hubby’s flashbulb moment of the day !

And – in it’s new spot where everyone hopefully would use the marker (on top of the paper roll) and write down whatever is finished instead of leaving the empty container.
When ready for the stores, whoever goes, only need to tear off the written piece.
LINDA
Grocery List On A Roll

Great idea!
Love this Linda, one of these would be great in the studio too!
This is such a great idea!! I am forever wishing my paper was just a bit longer so I could write more on it!
I love this idea!! When I saw the picture, I just had to stop by. It never fails that the one thing you really need isn't there when you need it…
I linked over from the Homemade by You Party where I am participating too with Spooky Spider Card and would love it if you'd stop by.
Hugs, Antonella 🙂
This is SO smart Linda! LOL That is a great way to reuse those cutting blades and is super useful. We need that around here! Thanks so much for sharing this with me at Bewitch Me & Titi! Hope to have you back with more amazing shares! Hope you are having a marvellous week!!!
XOXO
Cami @ TitiCrafty.com
Brilliant!! Thanks foe sharing 😉
I love this idea and love that you reused the teeth from the saran wrap. I use a white board on the fridge for my list and then take a picture with my phone. I really like this idea because you could easily write personal messages and hide them in lunches. Stopping by from 36th Ave.
Angela
Angela Says
Super idea!! I look forward to seeing you at My Dream Canvas. Have a great week.
That is BRILLIANT!!! I'm so making one and Roy, I may just be a little in love with you today blooming brilliant idea from both of you!!!
GENIUS! I love this idea! We could really use one of these!
This is too adorable! Such a neat idea!
Sharon
Make It Or Fix It Yourself
Oh I love this project Linda! Love that you used that metal strip from something you were about to throw away too. Pinning this one because I could sure use on of these!
Very good project!
Hugs!!!